
If you are on Draft #23 - Just Stop Counting
Mastering the Edit Process: A Guide for Professional Communicators
GOVERNMENT COMMUNICATIONS OFFICE CULTURE
Thomas Y. Lynch
7/30/20255 min read
I walk into the office, open InDesign and pull up the 23rd draft of our monthly magazine. (That is not a typo - yes, draft # 23!) I “finalize” and send to my supervisor. She looks it over and thinks “We should add an event that’s happening today!” She enters my office and tells me her idea, without hesitation I say “you are amazing”. Long story short - I gave up. I was no longer invested in the product that started with the potential of being the best employee magazine San Bernardino County Probation ever produced. How did we get here? In that organization External Affairs (media division), had a massive amount of supervisor turnover, I had 7 supervisors in 8 years. Most of my supervisors did not study communication or had experience working in a Comm environment. If they had they would’ve known that we needed a well thought out edit plan that included efficiency measures.
Creating a polished, professional publication—whether it’s a magazine, yearly report, or corporate brochure—is no small feat. It requires collaboration, attention to detail, and a systematic approach to ensure the final product is accurate, visually appealing, and representative of your organization’s values. For professional communicators, the edit process is where the magic happens. Below, is a break down of the essential steps for producing publications, along with my “pro tips” to help you nail the process every time.
Step 1: Create a Team and Assign Roles
Why It’s Important
Looking back we did not have a solid team, it was literally 3 of us (which is great, the smaller the better). But we lacked communication and we were not on the same page, in regards to layout or copy. Creating a publication is a team effort, and without clear roles, the process can quickly become chaotic. Assigning roles ensures accountability, streamlines communication, and prevents overlap or missed tasks.
How to Nail It
Define key roles early: Identify who will manage the project, write content, edit copy, design layouts, and approve the final product.
Appoint a project manager: This person oversees deadlines, communicates with the team, and ensures the process stays on track.
Assign section leads: Break the publication into sections and assign team members to own specific areas. This gives everyone a clear focus and reduces confusion.
Step 2: Develop a Solid Draft Document
Why It’s Important
Now we did this well…kinda. We did know how to create a draft document, in my example above we created 23 of them - lol. But the draft is the foundation of your publication. It’s where ideas take shape and where team members contribute their expertise. Without a solid draft, the editing process becomes unnecessarily complicated.
How to Nail It
Set deadlines: Create a timeline with clear milestones to ensure the draft is completed within the overall project deadline.
Divide and conquer: Assign sections to team members based on their expertise or interest. This ensures the content is thorough and diverse.
Use collaborative tools: Platforms like Google Docs or Microsoft Teams allow everyone to work on the draft simultaneously, track changes, and share feedback.
Step 3: Edit Copy (The Most Important Step)
Why It’s Important
This step is where your publication transforms from a collection of ideas into a polished, professional document. Copy editing ensures accuracy, consistency, and readability—all of which are critical for credibility and audience engagement. During this phase there should be many drafts, hatching out ideas, researching for accuracy. Checking over spelling and grammar. This step is what makes the publication worth reading, so care should be taken.
How to Nail It
Create a shared document: Use a platform that allows team members to suggest edits and track revisions systematically.
Focus on accuracy: Fact-check every detail, from names and dates to statistics and quotes.
Establish approval steps: Ensure each article or section is signed off by the section lead and editor before moving forward.
Pro tip: Invite someone outside the process to review the document. A fresh set of eyes often catches errors or inconsistencies that the team might overlook.
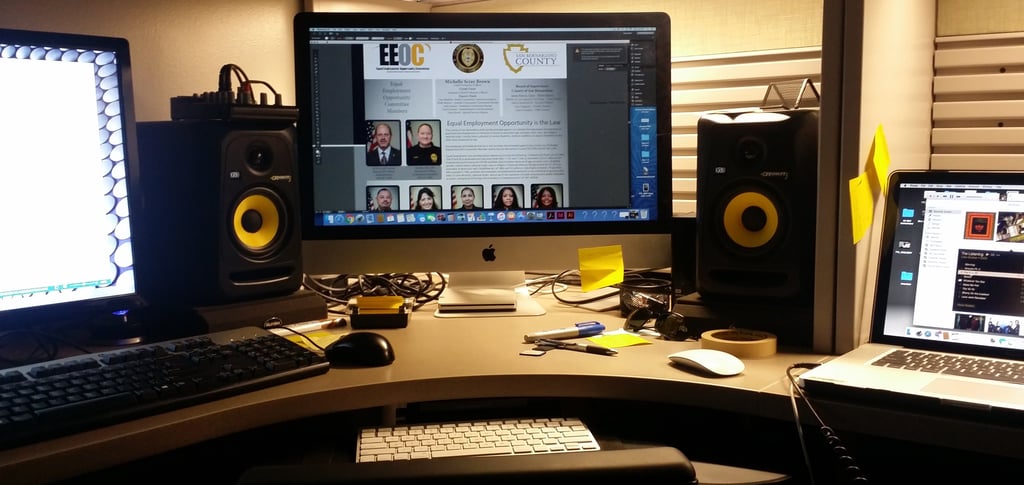
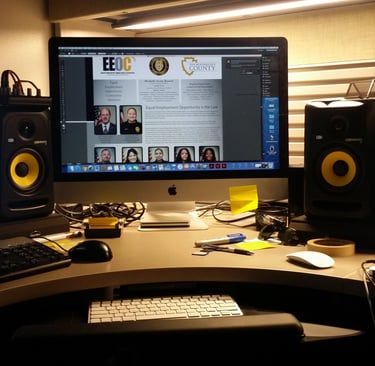
Step 4: Send Approved Copy to Layout Guy
Why It’s Important
Once the copy is finalized, it’s time to bring the publication to life visually. Consolidating all materials into one folder makes the designer’s job easier and prevents miscommunication or missing elements. Dedicate sufficient time for layout, the design is what will attract readership. As a layout artist plan your layout with the team and give them an idea of important themes and color selections. You have an advantage your first draft will the first time your team sees their hard work come to life. Use that to blow them away.
How to Nail It
Communicate expectations: Provide the designer with a brief outlining the intended style, layout preferences, and any branding guidelines (external staff).
Stay accessible: Be available to answer questions or provide additional resources during the design phase.
Dedicate sufficient time: The layout process will transform the publication into a marketable visual document - don’t rush it.
Step 5: Edit Layout Draft
Why It’s Important
Editing the layout ensures the publication is visually appealing, easy to navigate, and aligned with your organization’s branding. This step is strictly about appearance, as the copy should already be finalized. You should not be editing any copy at this time, adding paragraphs, additional graphics or photographs should not happen. When a document is in the layout phase drastic edits or additions can change the layout and cost you valuable time and appeal.
How to Nail It
Review sections individually: Send the designed draft to each team member and have them check their assigned sections for accuracy.
Focus on aesthetics: Ensure colors, fonts, spacing, and overall design align with your branding and enhance readability.
Collaborate with the designer: Provide constructive feedback and work together to refine the layout.
Step 6: The Master Read-Over
Why It’s Important
This final step is your last chance to catch errors or inconsistencies before publication. It’s also an opportunity to ensure the document flows well and represents your organization effectively.
How to Nail It
Involve the whole team: Send the finished draft to the entire team for one last review.
Pro tip: Invite someone who hasn’t seen the document before to read it over. Their fresh perspective can uncover issues others missed.
Check every detail: Review headings, captions, page numbers, and formatting to ensure everything is consistent and correct.
Extra Pro Tips for Success
A. Allow Sufficient Time
Rushing through any process leads to mistakes and compromises quality. Build in extra time for unexpected delays, especially for editing and design.
B. Prioritize the Initial Copy Edit
The first round of edits is the most important. It sets the tone for the entire publication and ensures the content is accurate and professional.
C. Establish Final Approval Authority
Ever heard the term “too many cooks in the kitchen? Decide early on who has the final say on edits and design. This prevents last-minute disputes and keeps the process moving smoothly.
D. Write the Process Down
Document your workflow and use it as a guide for future projects. Having a clear process reduces confusion and helps new team members get up to speed quickly.
E. Remember the Publication’s Legacy
Your publication represents your organization and will live on in archives and online. Treat it as a reflection of your brand and ensure it’s something you’re proud to showcase.
Conclusion
The edit process is the backbone of any successful publication. By following these steps and incorporating the pro tips, you can produce a polished, professional document that showcases your organization’s expertise and values. Remember, it’s not just about the finished product—it’s about the process that gets you there. Take the time to do it right, and your audience will notice the difference.
Thomas Y. Lynch


“How well we communicate is not determined by how well we say things but how well we are understood.”